Measuring a dog sounds like a two-minute job and turns into a twenty-minute wrestle. Usually the reason is the approach rather than the dog: people try to get three measurements in one session, with a cold tape, from a dog that has just been called away from something interesting.
Set it up properly
Non-slip surface. A dog sliding on laminate braces, which changes its whole posture. A rug or a mat solves half the problem.
After exercise, not before. A dog that has just walked will stand still. A dog that has been asleep all afternoon will not.
Second person if you have one. One holds a treat at nose height to get a square stance; the other measures.
Treats within reach, and use them for standing rather than for finishing.
Use string, not tape
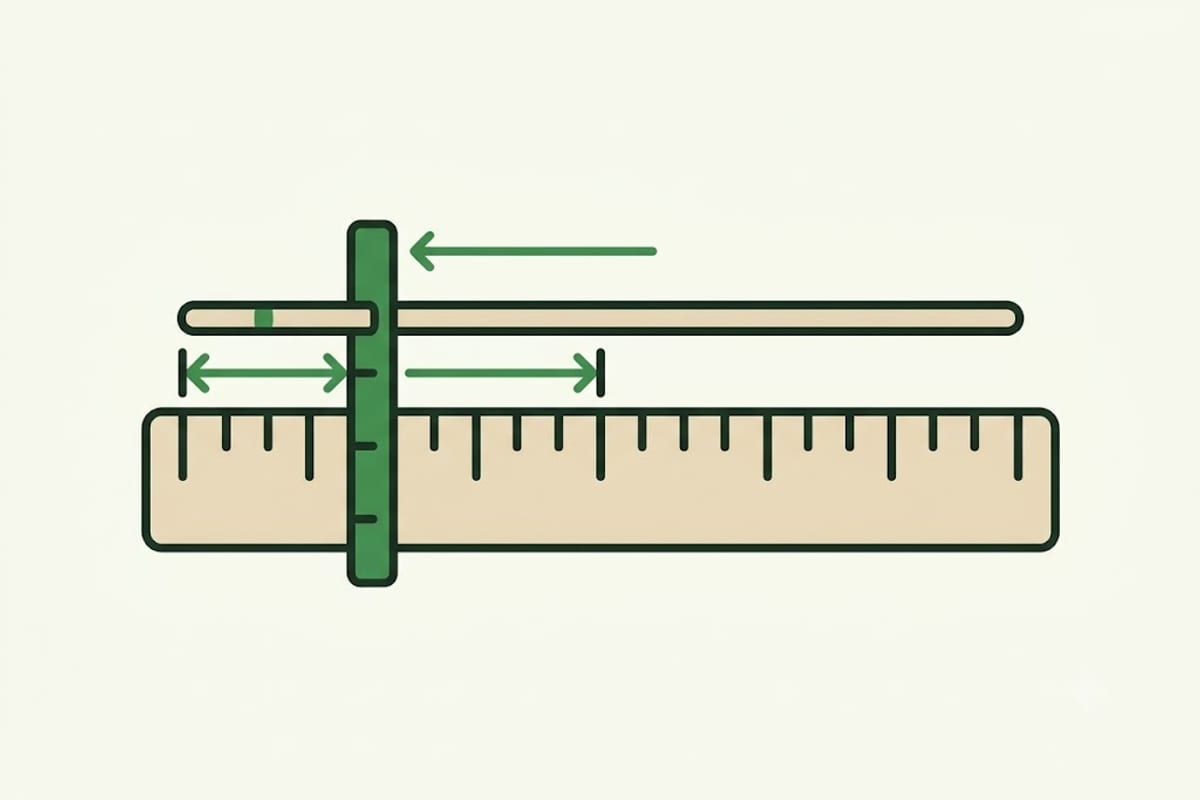
A soft tape has numbers you must read at the moment of contact, which means holding the dog still while you squint at it. String removes that.
- Pass the string around the neck or chest.
- Pinch where the ends meet, or mark it with your thumbnail.
- Let the dog go.
- Lay the string flat against a ruler and read it at leisure.
The dog only has to hold still for the first two steps, which take about three seconds. This one change fixes most measuring problems.
A shoelace, a phone charger cable or a strip of paper all work. Anything that does not stretch.
One measurement per session
You do not have to do all three at once. Neck today, chest tomorrow. A dog that gets three seconds of contact and then a treat learns that measuring is fine; a dog that gets held for ten minutes learns the opposite.
Getting a square stance
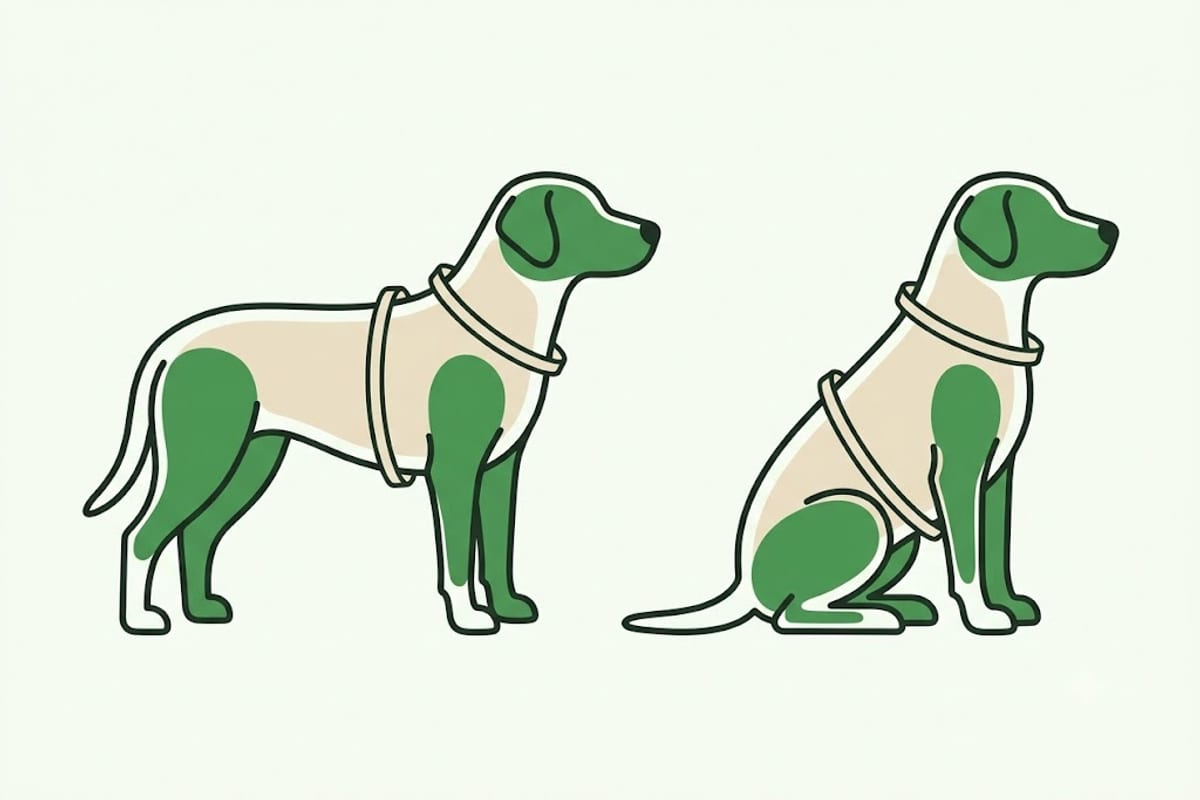
Measurements taken on a sitting dog are wrong — the chest compresses and the back shortens, sometimes by several centimetres.
To get a stand:
- Treat at nose height, slightly forward. A treat held high makes the dog sit; held level and just ahead, it steps forward and stands.
- Take the measurement as the dog steps into position, not after it settles.
- If the dog keeps sitting, walk two steps and stop. Most dogs stand square for a moment after stopping.
Where the numbers go
Neck — at the base of the neck, where a collar naturally sits, low toward the shoulders. Not up under the jaw.
Chest girth — around the deepest part, just behind the front legs.
Back length — base of the neck to the base of the tail, not the tail tip.
On a thick-coated dog, part the coat and take the neck and girth against the body.
Telling a good reading from a bad one
Measure twice. If two readings differ by more than about a centimetre, at least one is wrong — usually the tape was on coat, or the dog moved.
Sanity-check against what fits now. If a collar currently fits at 38 cm and your new measurement says 33, something is wrong with the measurement, not with the dog.
Be suspicious of round numbers. Exactly 40 cm often means the tape was read at a glance.
If the dog genuinely will not tolerate it
Some dogs are hand-shy, or have had a bad experience with restraint. Do not force it.
Measure a collar that already fits. Lay it flat and measure from the buckle to the hole in use. That gives you the working neck size directly, and it is exactly the number you need for the next collar.
Measure a harness that fits. Same principle for chest girth — close it as worn, then measure the loop.
Ask at a grooming appointment. Groomers measure dogs constantly and the dog is already standing on a table.
Ask the vet at the next visit. They will have the dog standing anyway.
Recording
Write the numbers with the date and a note on coat state — full coat or blown out. On a growing dog also note the age.
A single measurement is a number. Three measurements over six months is a growth curve, and that tells you whether to adjust the current collar or buy the next size.